135/365
Security is one of those necessary evils in life. We all want to make sure everyone is safe, but we have to give up some of our comfort and convenience to do so. Follow these tips to make your experience with the TSA a little easier.
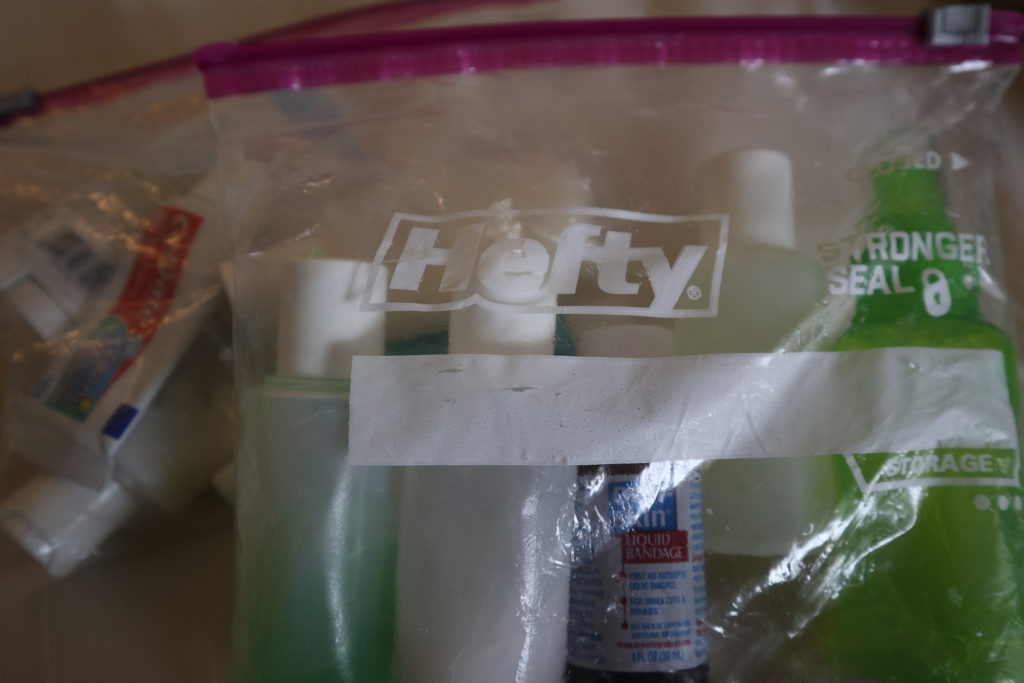
1. Observe the 3-1-1 Rule
Any liquids you carry on have to be less than 3.4 oz each, and fit into one clear quart-sized bag per person. So really it should be 3.4 oz, one bag per one person: 3.4-1-1. You may not think of some items as liquid either. If it’s spreadable, it should be in the bag. This includes deodorant, toothpaste, and lip balm. I like to travel with a snack, so I frequently have single packs of hummus or ranch dip in my 3-1-1 bag. Other random items I pack in my 3-1-1 bag include first aid ointment, foot glide, sunscreen stick, hand sanitizer, and peppermint oil.
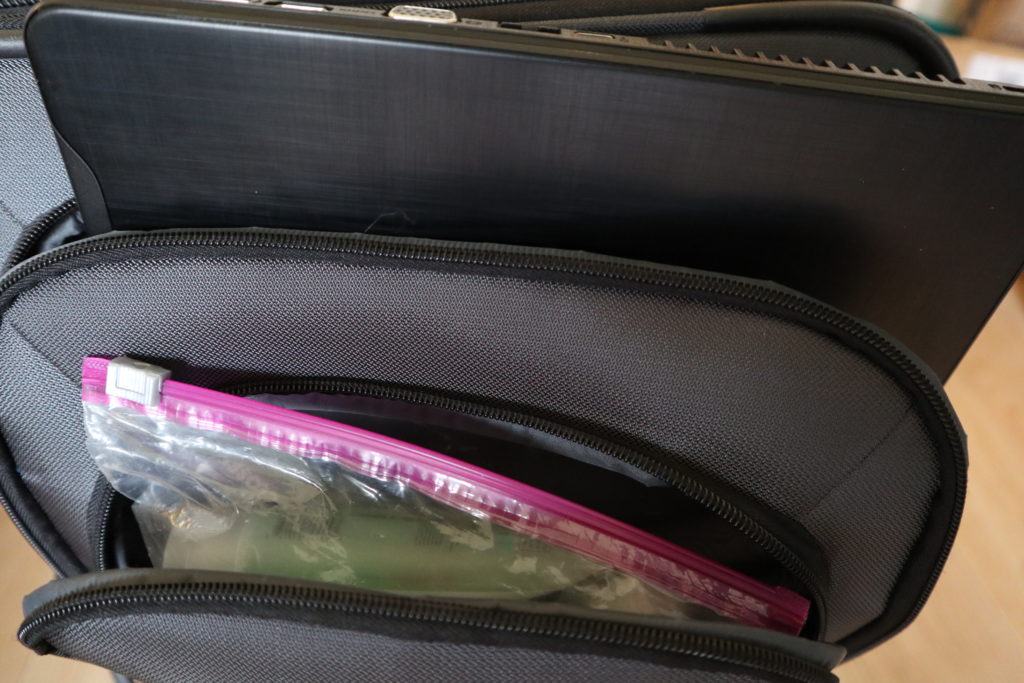
2. Pack These Items in a Handy Spot
You will need to remove these items from your bag, so have them in an outside pocket or an easily accessible part of your carry on. My carry on suitcase has two outside zippered pockets. One is perfect for my laptop and the other holds my 3-1-1 bags. Once you get through security, you could move things around if necessary.
- Laptop
- Tablet
- 3-1-1 Bag(s)
3. Rethink Your Footwear
You will have to remove your shoes, so consider your footwear. If you are a sandal or slip on shoe person, it will be easy to remove your shoes. However, you will be barefoot through the screening part of the line. If you wear tennis shoes, you will probably have to sit to get your shoes back on your feet. Some, but not all, airports provide a convenient place to gather yourself back together, but it is a good idea to consider whether you can streamline this process by wearing different shoes. Children do not have to remove their shoes.
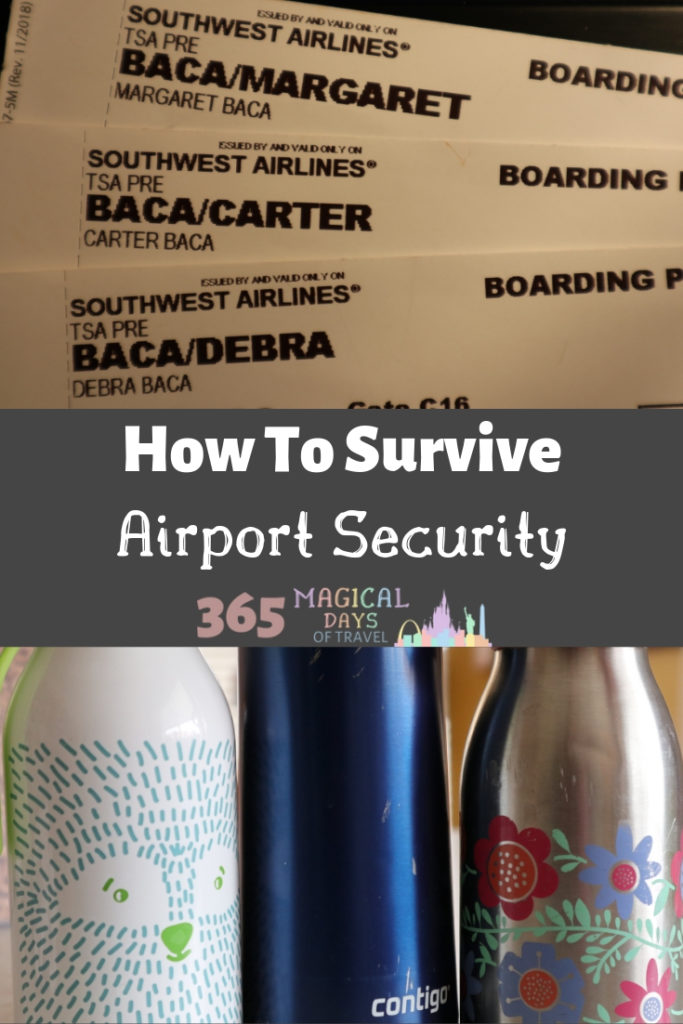
4. Empty Any Water Bottles
It’s a great idea to bring refillable water bottles because many airports provide filtered filling stations near the gates. However, make sure you empty them before you get into the security line. Some airports even have designated liquids disposal bins for those last-minute dumps if you haven’t had a chance to drink all of your water before you get in line. If there aren’t bins, a quick trip to the drinking fountain or restroom can do in a pinch. If you forget, you will have to get swabbed or even made to get out of line, dump the liquid, and get back in line. (I heard that’s what happens; I’ve not experienced either of these scenarios in person.) (That’s not true. This has happened to me more than once!)
5. Prepare Your Kids
Talk to your kids about what to expect in the TSA line. Have them watch videos on TSA Top Tips Page (it’s actually very humorous!) and make sure they know the rules to follow. You will go through metal detectors instead of body scanners, so that’s a plus. If your kids are old enough to pack their own carry ons, check their bags for liquids and anything that resembles a weapon. My kids love to watch everything that is going on, and my daughter will even try to “help” the TSA agents by stacking bins, etc. They are always starstruck by the goings on, and sometimes I have to physically move them through the process, even though they’ve been there, done that many times!
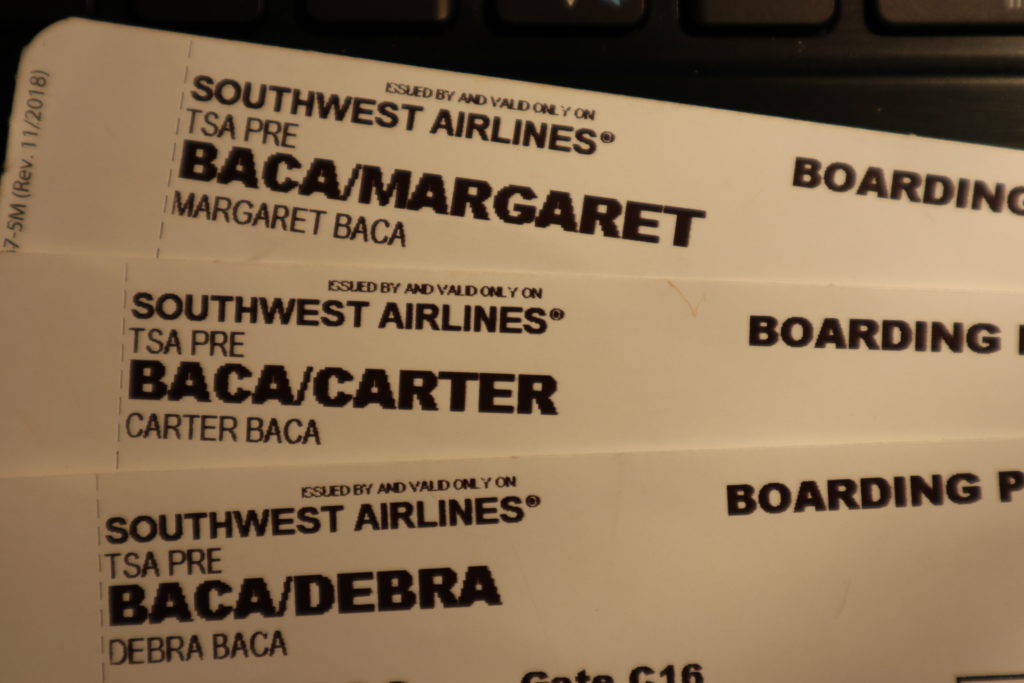
6. Have Your ID and Boarding Pass Out
While you are in line, get out your boarding pass and picture ID for the TSA agent to inspect. You can have your boarding pass on your mobile device, so you don’t need a printed copy. If you’d rather have a printed copy, you can print it at home, at one of your airline’s kiosks, or at the ticket desk.
7. Take Off Your Jacket and Belt
While you are waiting in the next line, put away your ID and boarding pass and be prepared to take off your jacket and belt. Even better, have a place to store them while you go through the screening so that you’re juggling less stuff.
8. Empty Your Pockets
Before you get to the screening area, make sure that your pockets are empty. I have a habit of putting my cell phone in my pocket, so that is something I have to consciously remember not to do in the TSA line. It’s much easier to gather your things if they are contained in fewer bags, so consolidate if you can. Keep your pockets empty so that you can move through the body scanners or metal detectors more easily.
9. Gather All of Your Things
Make sure you take a mental inventory of what you placed on the conveyor belt so that you can collect everything on the other side. Agents will sometimes pull a bag off the line to hand inspect. This can be random, and it can be because it was packed too tight or included an item that looked suspicious. You’ll be told where to stand to wait for the agent to go through the bag.
10. Get TSA PreCheck
My number one tip to get through security at the airport is to sign up for PreCheck. If you have kids, they will be able to accompany you through the PreCheck line until they turn 13. This service costs $85 for five years. We decided to go all out and get Global Entry ($100 for five years) for everyone in our family in order to expedite our international travel as well. PreCheck has been well worth the effort and money. With PreCheck, most of the above tips are no longer needed. So you can…
- Keep your light jacket on
- Leave your laptop and tablet in your bag
- Go through metal detectors instead of body scanners
- Keep your 3-1-1 bags in your carry ons
- Enjoy a much shorter wait
We only had to pay for the kids since two of our credit cards (Citi Prestige and Chase Sapphire Reserve) come with Global Entry or PreCheck every five years. It has definitely made it much easier to navigate the airport on every trip. Except that one time that I was randomly flagged with the dreaded SSSS, couldn’t use PreCheck, and had to be subjected to “additional screening”. But that’s a story for another post!
I have Global Entry and it was a lifesaver when I went to Spain and Japan a few years ago!
These are great tips for making it through security, it’s definitely my least favorite part of air travel.
Good luck on your travels 🙂
I find it amusing, especially with the kids’ reactions!
Thank you for the great tips. I learned a few things I didn’t know especially about the pre-check.
Pre-Check is the best!
OMG! Water bottle is genuise! I travel so much, but never thought of it. Thanks a lot for sharing!
You’re welcome! I never go anywhere without my water bottle. I hate that I have to empty it, but glad that more airports are putting in filtered fillers!
Great tips because I have been debating about getting the Global Entry. Thanks for sharing!
We’ve only used the Global Entry aspect once, but it was very easy. Pre-Check is a must!